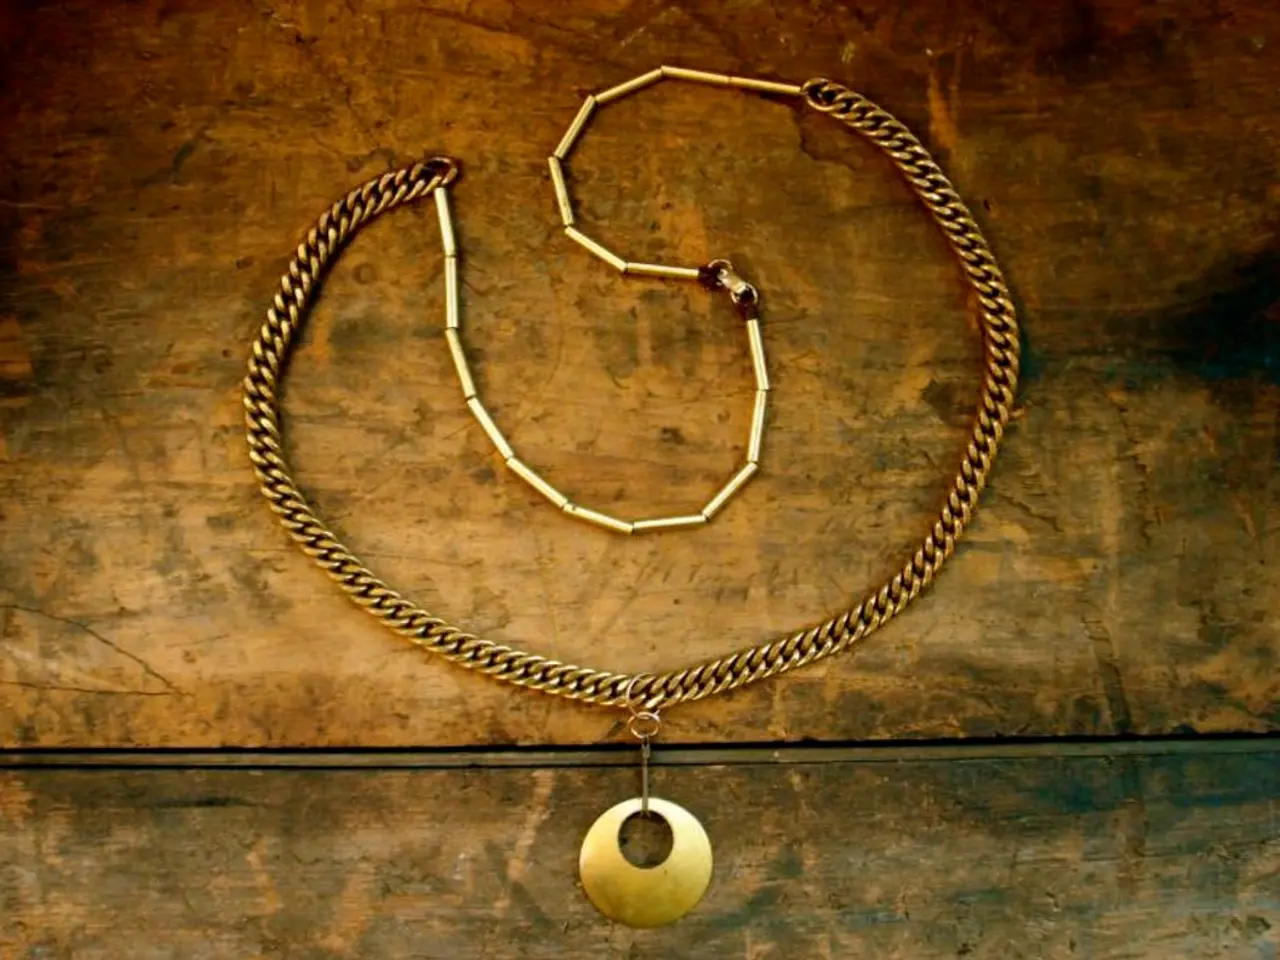
Crafting a Photo Pendant Necklace: A Step-by-Step Guide
In a delightful guest post from Ginger over at Ginger Snap Crafts, we're introduced to a charming DIY project – the creation of a picture pendant necklace. This craft is perfect for those looking to delve into the world of DIY jewellery making, or for those seeking handmade gifts, keepsakes, or personal accessories.
The supply list for this project is straightforward and easy to obtain. You'll need glass tiles, bails, diamond glaze, super glue, chains, a photo or image, and some white cardstock.
To begin, print your image onto the white cardstock in a black and white style. Once you've chosen your desired photo, carefully cut it out to fit the size of your glass tile.
Next, apply a layer of diamond glaze to the back of the photo using a brush. Ensure you spread the glaze out evenly to seal the paper. Allow the glaze to dry for 5-10 minutes. While the glaze is drying, wipe up any excess with a Q-tip to prevent messiness.
Once the glaze has dried, apply a pea-sized amount of diamond glaze to the entire image on the glass tile. Again, spread the glaze out evenly with a brush. Let the glaze dry for several hours.
After the tiles are dried, use super glue to attach the bail to the back. Press the two together while the diamond glaze is still wet to ensure a good seal.
Finally, attach the chain to the bail and let your picture pendant necklace dry completely.
This DIY project, praised for its cuteness, requires a beginner's skill level and takes around 4 hours to complete, with the working time being approximately 10 minutes. So, gather your supplies and let your creativity shine as you embark on this adorable DIY adventure!
Read also:
- Understanding Hemorrhagic Gastroenteritis: Key Facts
- Stopping Osteoporosis Treatment: Timeline Considerations
- Expanded Community Health Involvement by CK Birla Hospitals, Jaipur, Maintained Through Consistent Outreach Programs Across Rajasthan
- Abdominal Fat Accumulation: Causes and Strategies for Reduction


